Back when I first gave birth to Micah, I attempted to make the monthly onesies that are so popular in the blog world. It did not go well. In fact it was a big fat FAIL. {
Second paragraph} In short, I couldn't get the images to transfer using iron-on transfers. If only I knew then what I know now.
I stumbled upon a blog post
tutorial of freezer paper stenciling. Blame
Pinterest. If you google
freezer paper tutorial, you can find all sorts of tutorials, such as
HERE,
HERE, and
HERE. Those were the first three that came up when I googled. The following is not a tutorial. I'll leave that to the people who know what they're doing. But look what I did!
I used a tee shirt that I had already.
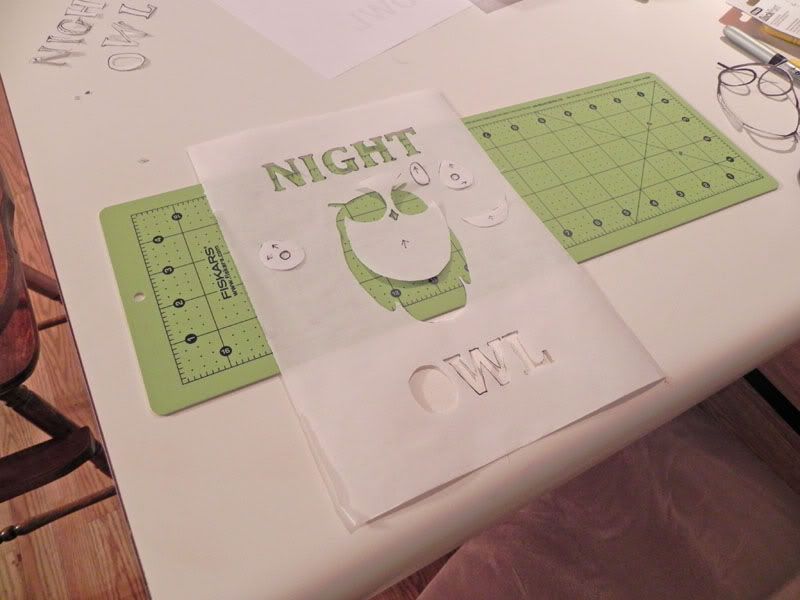 |
| Cut out stencil. I ended up using a razor blade knife, because apparently my Wal-Mart doesn't carry Exacto knives. |
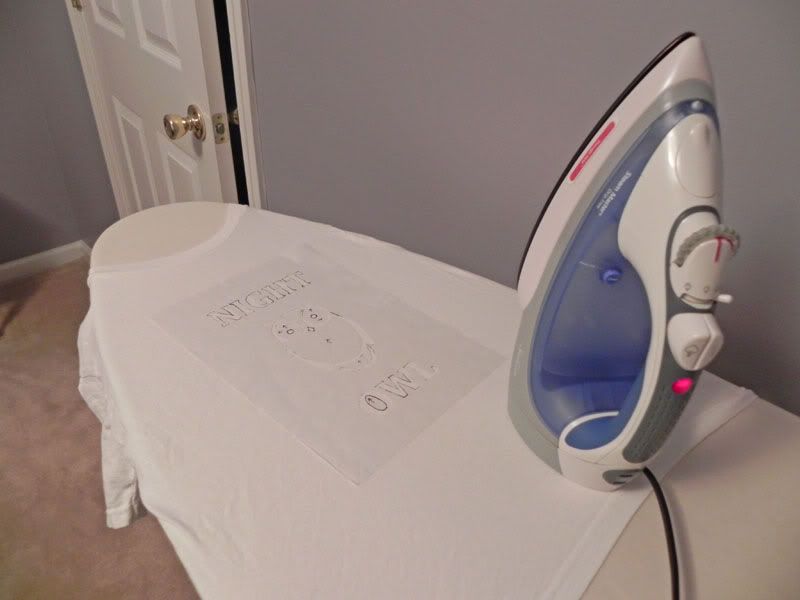 |
| Iron on the stencil. |
 |
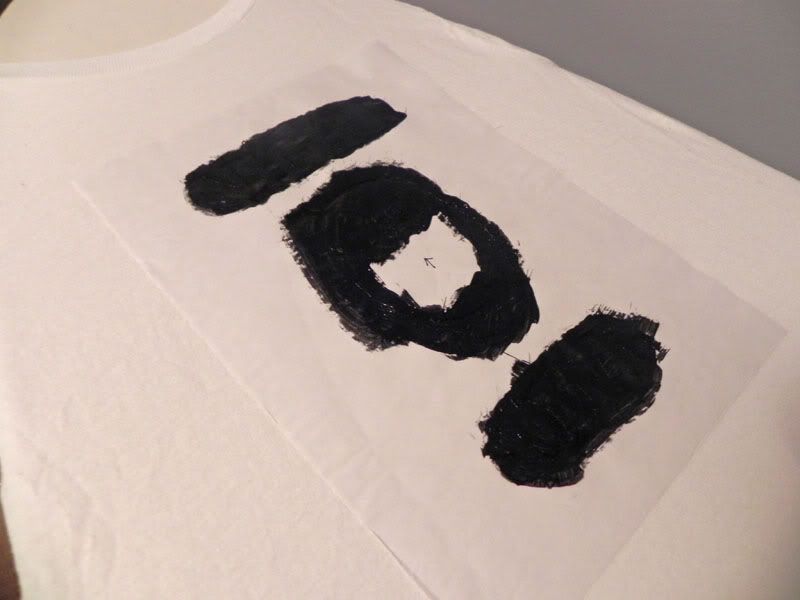
| Add the fabric paint*. Not too much at one time. You don't want it to start drying before you get to it with the brush. |
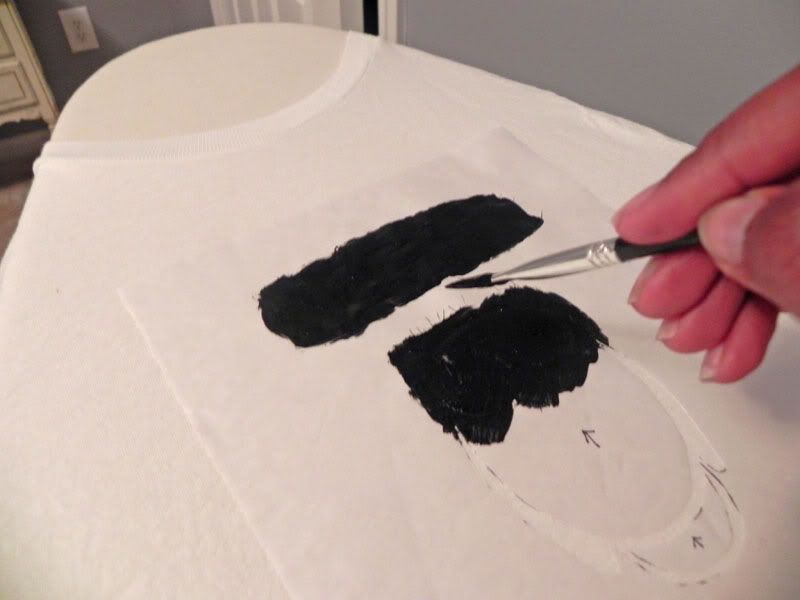 |
| Paint it into the cutouts. Again, a little at a time. |
 |
| Allow it to dry a little, and peel the stencil off. |
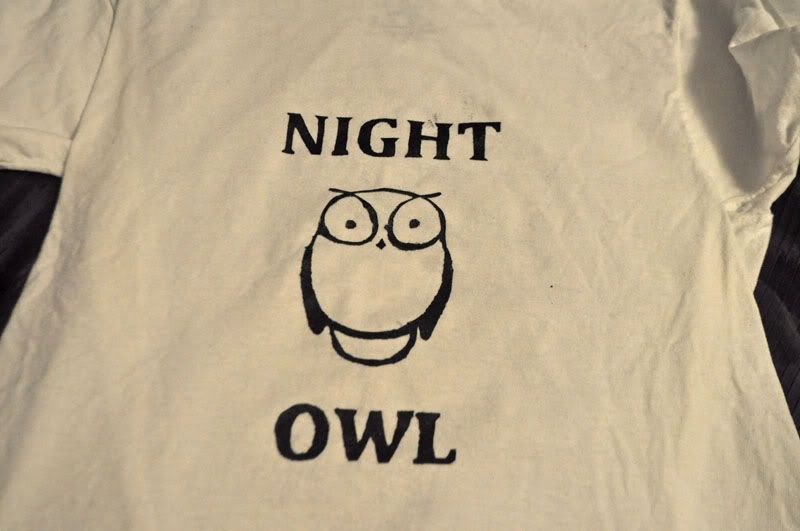 |
| Finished product. |
The last step is to wait for it to completely dry, then run the iron across it to seal the design. But I was too excited to show this tonight. I'll try to remember to let you know how it holds up.
So I had a few mistakes, of course. I didn't allow the paint to dry enough before I removed the stencil. That led to some of the fabric paint* smearing onto my fingers then onto the shirt. I made sure to iron down all the little nooks and crannies, so that the paint wouldn't bleed under the stencil though. It was also not that simple to remove the stencil that I had ironed down so well, especially the lettering, because there were so many small pieces where the stencil tore. Be sure to iron without steam. That worked well for me. I wasn't sure if the steam would interfere with the freezer paper sticking to the shirt.
All in all, I love this little craft project. It was a little time consuming and tedious, because I had to very carefully cut out the stencil, but not too bad. Seriously, I went to Wal-Mart at about 8:30pm to get the supplies, and finished at about 11:00pm. Two and a half hours for one shirt. However, I look forward to doing many more of these types of projects. I have 150 square feet of freezer paper to go through after all. Micah will definitely be rocking some custom shirts.
* I used Tulip fabric paint.